3 Tips For Application Of Athletic Tape
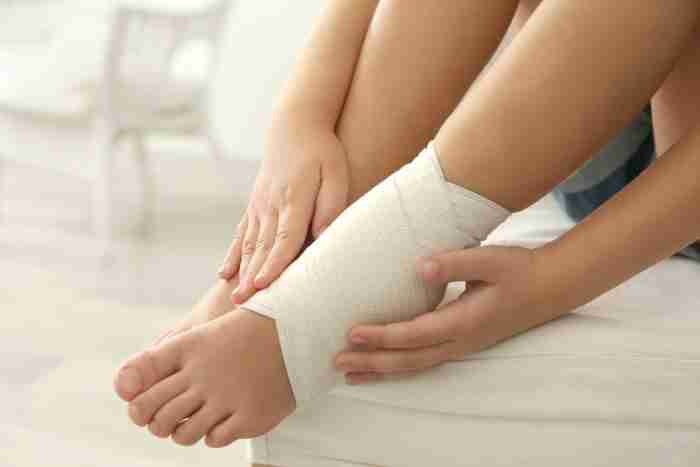
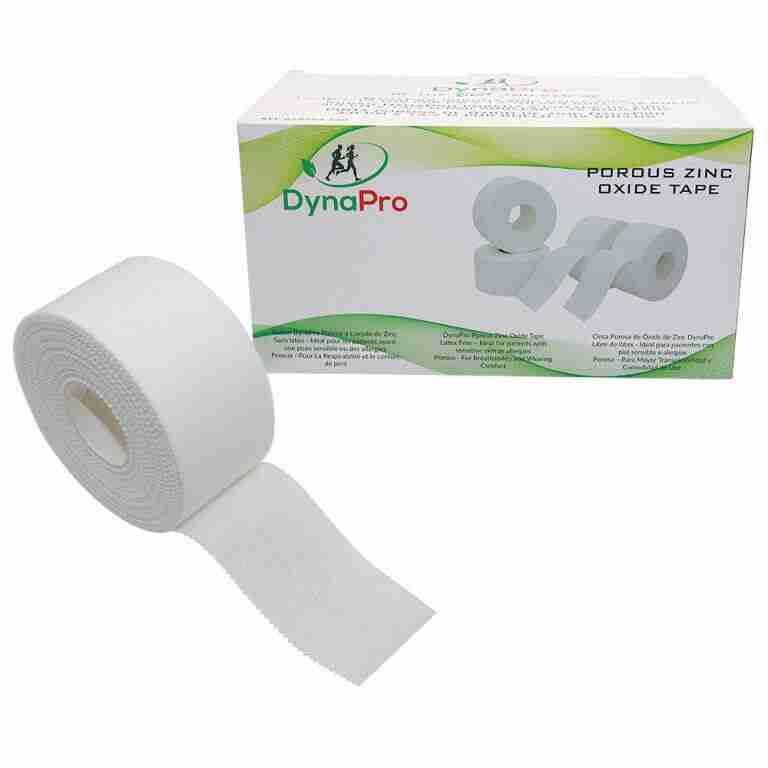
Athletic Tape is applied over body areas that have been previously subject to injury or that are vulnerable to future injury. The aim is to stabilize the vulnerable structures of the body by providing support and reducing range of motion. In some cases, a therapist may apply the tape with the aim of securing elastic wraps, pads or wound dressings. However, applying the tape is not just a matter of placing it over the intended area “sticky side down”. In this post we explain three tips for application of athletic tape, focusing on the preparation phase of the task.
Preparation Of The Patient
Before applying the tape, the therapist should thoroughly clean and dry the skin of the patient. Body oils from perspiration, as well as lotions and even dirt and grass, will reduce the adhesive properties of the tape. If excessive body hair is present, it should be shaved (this is important for both successful application and removal of the tape).
Preparation Of The Joint
In addition to cleaning the area of application, the position of the joint to be treated is also important. As a general rule, care should be taken to ensure it is in the range of motion in which it is to be stabilized. When applying elastic tape, it should be noted that the precise position will vary with the elastic properties of the tape. In this post, we will focus on the considerations relevant to non elastic tape; we will cover elastic tape in a future post.
Preparation Of The Tape
For successful application of athletic tape, it is important to know how to properly tear the tape during the preparation phase. One successful approach is set out below, but there are several others that the therapist may adopt with success:
- Hold the roll in one had and place the third finger of that hand through the middle of the roll to stabilize it. For ideal results, ensure that the roll rests on the proximal phalanx of the finger and slightly on the palm.
- Position the tape extending away from the roll between the tips of the thumb and second finger.
- Hold the extended tape between the thumb and second finger of the other hand. Keep the hands in close proximity to each other.
- Pull the hands in straight opposing motions, using a slight downward motion. The pressure from the fingertips in combination with this motion will start to tear the horizontal fibres of the tape.
- As the tape begins to tear, quickly supinate the hand holding the roll (i.e. turn the hand palm upwards). Simultaneously pronate the other hand (i.e. turn it face downwards). With the hands rotating in opposite directions, the tape will continue to tear as intended. Avoid twisting or crimping the tape for best tearing results.
Application Of Athletic Tape – Summary
The tips outlined above should help in the completion of the preparatory phase and be a first step towards the successful application of athletic tape. In a supplementary post, we provide tips for the successful completion of a taping job.


